So you want a flexible general-purpose VM with the latest Ubuntu LTS? Right now it's Ubuntu 22, so these may not apply in the future.
These instructions assume that NAT is the default network selection/configuration in Virtualbox.
1) add your user to visudo
sudo visudo
# in visudo add your user to a new line
user ALL=(ALL) NOPASSWD:ALL
2) configure netplan
sudo ip a
# determine if networkd or network-manager is running, it's your renderer
# by default networkd will be running on a fresh Ubuntu 22 LTS install
# acquire your network identifier (eth0, enp0s3, etc.)
network:
version: 2
renderer: networkd
ethernets:
eth0:
addresses:
- 10.0.2.23/24
nameservers:
addresses: [8.8.8.8, 8.8.4.4]
routes:
- to: default
via: 10.0.2.2
# then apply changes
sudo netplan apply
3) configure port forwarding
- In VirtualBox VM Settings > Network > Advanced set your port forwarding rules:
- Verify you can SSH in to your box, in Terminal it's with:
% ssh -p 2222 ubuntu@127.0.0.1
4) install guest additions dependencies
sudo apt update
sudo apt install -y virtualbox-guest-additions-iso virtualbox-guest-utils
5) create a shared folder
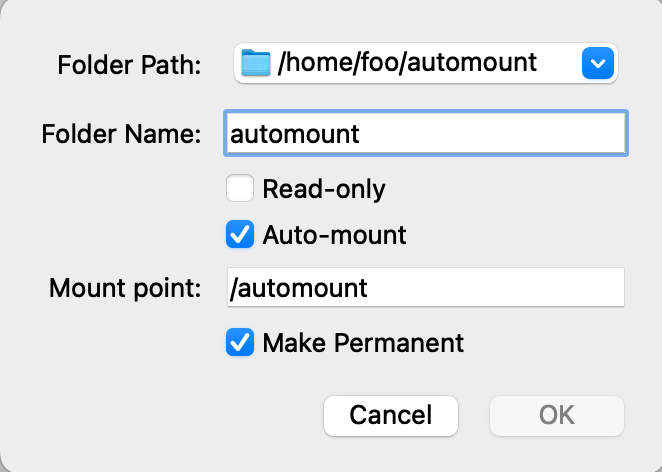
- In VirtualBox VM Settings > Shared Folders add your folder:
6) clone your machine
Restart/reboot your VM, verify everything's working then make a full clone!

No comments:
Post a Comment